Even if a grooved coupling looks perfectly assembled, it might still leak once you fill and pressure test the fire sprinkler system. Often, the coupling itself works fine. Instead, leaks usually happen because of gasket position, wrong groove sizes, or uneven bolt tightening. Poor pipe alignment, dirty sealing surfaces, and outside stress on the joint also cause trouble. Contractors, installers, and fire protection buyers need to find the real issue before they just tighten the bolts harder. This careful approach saves gaskets from damage, avoids extra pressure tests, and cuts down on needless replacement costs.
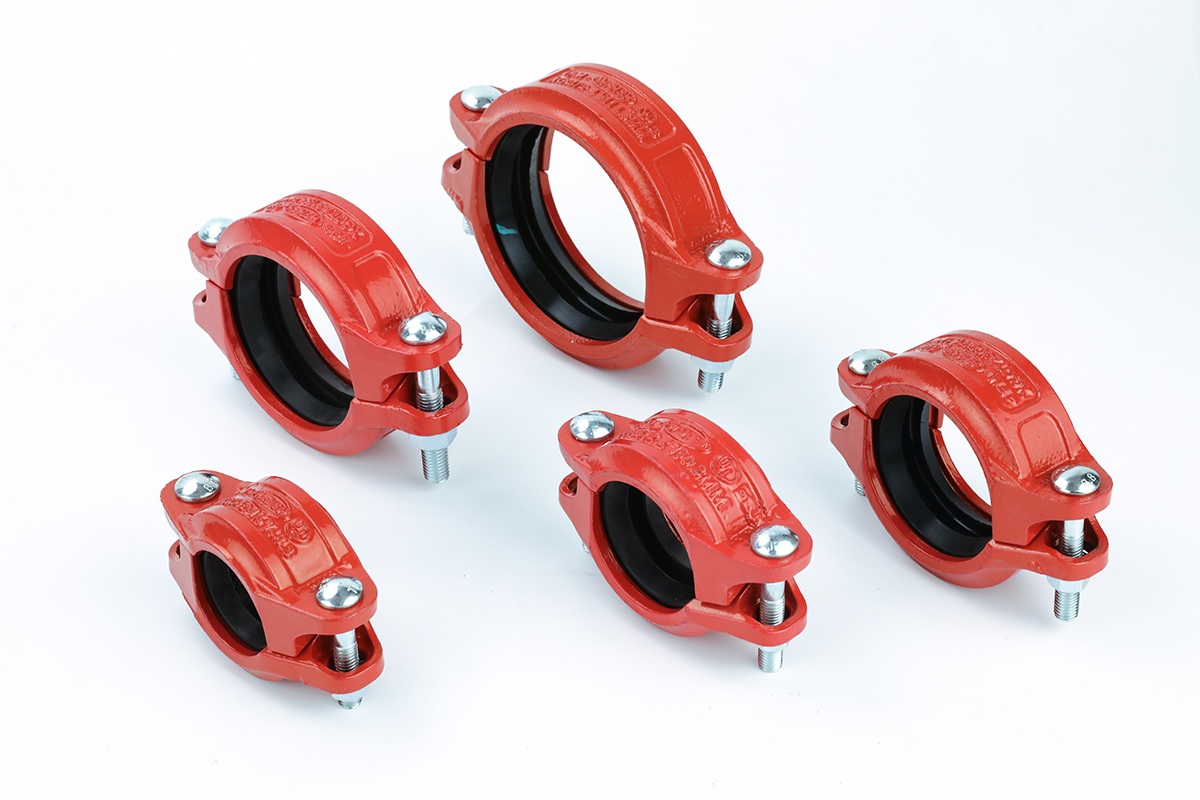
Why Can a Grooved Coupling Leak Only During Pressure Testing?
Minor installation problems often stay hidden before a sprinkler pipeline gets pressurized. Pressure testing puts internal force on the joint. This force easily reveals weak spots in the gasket seal, housing engagement, or pipe preparation.
A well-installed grooved coupling needs several parts to work together as a single unit. These include the pipe groove, housing keys, elastomer gasket, bolts, and the pipe ends.
Why Is a Visual Check Before Testing Important?
Installers must look closely at every single coupling before they apply test pressure. The coupling housing needs to sit in the right spot. The keys must fit firmly into the grooves. Also, the gasket should stay completely hidden inside the housing.
Manufacturer installation guides strongly suggest checking joints both before and after field tests. Passing the first pressure test does not prove the joint is flawless. It also does not promise reliable long-term performance.
If a leak shows up during the test, workers must safely depressurize the system. Only then should they take apart, adjust, or replace the joint.
What 7 Installation Problems Commonly Cause Grooved Coupling Leaks?
Several installation mistakes cause very similar signs during a hydrostatic pressure test. Contractors should look at the entire joint step by step. They should not just guess that the coupling housing is broken.
The following seven areas require special attention.
1. Is the Gasket Pinched, Twisted, or Incorrectly Positioned?
The gasket acts as a vital sealing part in any grooved coupling. Sometimes it gets twisted, rolled, stretched, or pinched between the housing and the pipe. When this happens, the gasket fails to make smooth, even contact all the way around the pipe.
Tightening bolts unevenly often causes this gasket pinching. Installation guides for grooved couplings clearly tell workers to tighten nuts evenly. They should alternate from side to side to lower this risk.
If a visual check shows a damaged or pinched gasket, simply forcing the bolts tighter is a bad idea. Installers must handle the ruined gasket or coupling assembly exactly as the manufacturer directs.
2. Are the Pipe Grooves Within the Required Dimensions?
Groove accuracy completely controls how well the coupling housing grips the pipe.
A groove that is too shallow stops the coupling keys from seating right. On the other hand, a groove might be too deep, too wide, or off-center. Any size outside the allowed limits will hurt the joint’s performance.
Because of this, grooved piping systems rely on good couplings and properly prepped pipe ends. Published installation guides point out that workers must fix bad groove shapes. They should never try to fix bad grooves by tightening the bolts more.
Some projects require AWWA C606 or another specific groove standard. For these jobs, contractors must make sure their grooving tools and final pipe sizes match the strict system rules.
3. Are the Coupling Keys Fully Engaged in the Grooves?
The housing keys absolutely must sit deep inside the grooves on both pipe ends. Sometimes a key rests partly on the pipe’s outer surface instead of dropping into the groove. The coupling might look finished, but it lacks the necessary mechanical grip.
This bad fit can also create weird, uneven gaps around the bolt pads.
During the pre-test check, installers need to make sure both housing halves sit perfectly centered over the joint. They must also check that the coupling keys lock into the grooves all the way. Manufacturer guides say improper key engagement is the very first thing to check if bolt pads fail to reach their proper installed spot.
4. Were the Bolts Tightened Evenly?
Adding more tightness does not magically create a better seal.
Grooved coupling bolts usually need even tightening based on the specific coupling’s rules. Switching back and forth between sides helps the housing close smoothly. This careful method stops the gasket from getting pushed out of place.
Fluid Tech’s own grooved coupling installation guide tells users to tighten bolts evenly. It strictly warns against over-tightening. Too much force will easily ruin the fitting or the gasket.
For certain coupling designs, you check proper assembly by looking at specific bolt-pad contact. Other designs might need exact torque numbers. Installers must always follow the manual for the exact coupling they use. They should avoid using one basic torque rule for everything.
5. Are the Two Pipe Ends Properly Aligned?
Installers should never force a grooved joint into place just to fix a huge pipe alignment mistake.
Two pipe sections might meet at a bad angle or awkward offset. If so, the joint suffers from weird, uneven stress. This stress messes with gasket compression. It makes leaks highly likely once the internal pressure goes up.
Alignment troubles usually start somewhere else in the setup. Common causes include bad pipe cuts, wrongly placed hangers, or poorly planned branch lines. Forcing pre-built pipe sections together also causes this issue.
Before putting a leaky coupling back together, contractors must check the surrounding pipe. The pipes should line up naturally when nobody is pushing on them.
6. Are Dirt, Metal Chips, Paint, or Damage Affecting the Sealing Area?
Even a perfectly sized gasket struggles to seal against a scratched or dirty pipe surface.
Before putting things together, installers must check the pipe ends and the groove area. They need to look for metal chips left from grooving tools. They should also clear away scale, dirt, thick paint buildup, sharp edges, or physical dents. The gasket seating zone must be prepped exactly how the coupling maker demands.
Fluid Tech’s product guide also requires workers to clean the pipe grooves. They must place the gasket perfectly before putting the housing on.
This step matters a lot on massive construction sites. Workers might build, move, store, and install grooved pipes in many different spots before the final startup.
7. Is Pipe Support Putting Excessive Stress on the Coupling?
Sometimes what looks like a coupling failure is actually a pipe support failure.
Grooved couplings are not built to hold heavy loads from bad hangers, floating pipe sections, or forced bends. Too much pipe weight near the joint puts nasty, uneven stress on the gasket and housing.
Contractors must look closely at nearby hangers and supports. They should do this if a coupling keeps leaking even after a perfect reassembly.
Good support spacing and straight alignment keep the grooved joint in its safe working spot. The coupling should never have to make up for bad installation work in other parts of the system.
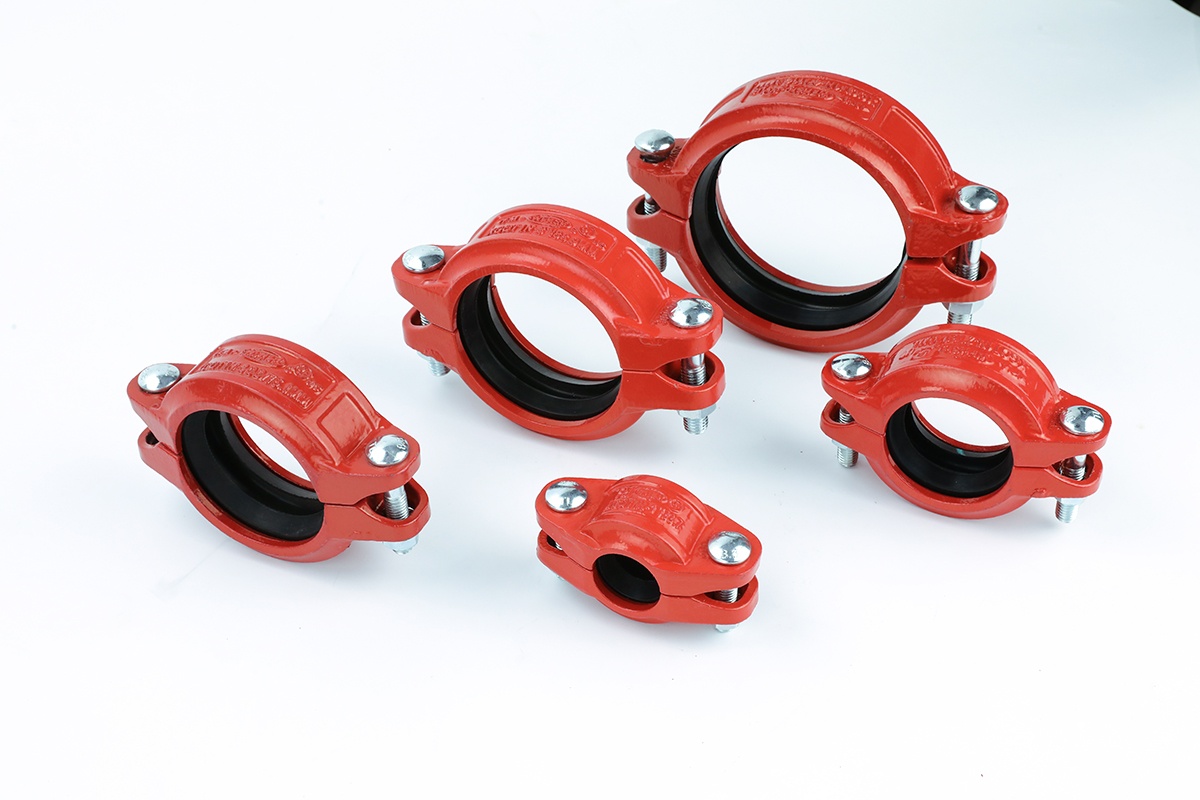
How Should Contractors Troubleshoot a Leaking Grooved Coupling?
Troubleshooting needs a clear, step-by-step plan. It should never rely on random, trial-and-error bolt tightening.
The main goal is to find the real source of the problem. It could be the gasket, groove, housing, pipe prep, installation style, or the nearby pipes.
What Should Be Checked After the System Is Depressurized?
First, safely remove all system pressure. Next, look closely at the visible parts of the joint. Check the housing position, key fit, bolt-pad shape, and any signs of crooked assembly.
If you have to take it apart, check the gasket for pinches, cuts, weird shapes, or dirt. Then, measure or look at the pipe grooves. Make sure to check the sealing surface for scratches.
Workers must also check the nearby pipes for bad alignment or heavy support loads. They should do this before putting the coupling back on.
After finishing the repair work, installers must put the joint together using the maker’s exact steps. Then, they must include it in the required pressure test once more.
Why Does Grooved Coupling Quality Matter for Fire Protection Projects?
Great installation skills cannot fix mismatched or poorly made parts. Contractors need to check the material, pressure rating, and gasket type before they buy. They must also verify pipe compatibility, groove standards, approvals, and the specific application.
For fire sprinkler jobs, using matching couplings, fittings, pipes, and accessories helps a lot. It makes field installation much easier and speeds up quality checks.
Why Choose Fluid Tech as a Grooved Coupling Supplier?
Fluid Tech Piping Systems (Tianjin) Co., Ltd. provides grooved couplings, grooved fittings, and fire protection pipes. They also supply valves, pipe hangers, and related parts for global fire protection projects.
Take its Quick-Mech 91 rigid grooved coupling as a great example. It features a strong ductile iron body, an EPDM gasket, and zinc-plated carbon steel bolts. It has grooved ends and meets many published specs. These include ASTM A536, AWWA C606, UL/FM, and PN16/300 PSI. It also handles a temperature range from -20°C to 120°C.
Fluid Tech acts as a complete one-stop fire protection piping supplier. It serves large construction companies all over the world. Its product certifications change by item but often include FM, UL, CE, LPCB, and VDS.
Conclusion
A grooved coupling might leak during a pressure test. When this happens, tightening the bolts again is a bad automatic habit. The actual problem could be a pinched gasket or wrong groove sizes. It might be a loose housing fit, uneven bolts, or crooked pipes. Dirty sealing surfaces or heavy stress from bad pipe supports also cause leaks.
A much better plan is to depressurize the system first. Then, look at the whole joint and fix the real installation mistake. After that, repeat the required test. Good pipe prep and correct coupling setup cut down on extra work. This careful approach speeds up system startup and makes fire sprinkler piping much more reliable.
FAQs
Can Over-Tightening a Grooved Coupling Stop a Leak?
Not always. Too much tightening easily ruins bolts, housings, or gaskets. This extra force often makes the leak much worse. Installers must follow the exact assembly rules for their specific coupling. They should never use extra torque as a lazy repair trick.
Can an Incorrect Pipe Groove Cause a Coupling to Leak?
Yes, absolutely. Grooves that are shallow, deep, off-center, or just wrong will ruin the coupling grip. This bad grip hurts the seal. Groove sizes must perfectly match the strict rules for the chosen grooved piping system.
Should a Leaking Coupling Be Adjusted While the System Is Pressurized?
No. Workers must safely depressurize the system first. Only then can they take apart, adjust, or replace a leaking grooved coupling. After finishing the fix, they must check the joint and run the pressure test again. This process must follow all project and manufacturer rules.